Documentation
The replay viewer
Every match on this site arrives as one recording, and the replay is that recording drawn back onto the map: where everyone was, several times a second, from the first frame to the last. This page is what each part of the viewer shows and what every control, layer and filter does.
The parts of the viewer
Open any match and scroll to the replay. It is one panel with four regions, and the map carries nothing but the map — every control is on the bar under it.
- 1Header. The layer and mode, the RAAS lane when the round's objectives identified one, both teams' tickets, and the clock.
- 2Map. The minimap with everything the recording saw on it. Reading the map covers every mark.
- 3Kill feed. The last nine things that happened at or before the playhead. Every row is a link to its moment.
- 4Squads and Scores. The live roster, and the server's own scoreboard as it stood at the playhead.
- 5Transport. Play, speed, the scrub track, the clock, and the action cluster on the right.
Playback
- 1Play / pause. Space does the same, unless you are typing in a field.
- 2Speed. 1×, 4× or 16× real time. 16× is how you find a moment; 1× is how you watch it.
- 3Scrub track. Click or drag anywhere on it to move the playhead.
- 4Capture marks. The taller, coloured ticks are objectives changing hands.
- 5Playhead. The knob, and the filled part of the track behind it.
- 6Sketch pin. A moment you drew on in review mode.
- 7Clock. Playhead time over the round's length.
- 8Actions. In order: review mode, share this moment, view options, reset view, full screen. Each is described below.
The shorter grey ticks along the track are kill density: more ticks, more kills in that stretch.
From the keyboard
While the replay is on screen, the keyboard drives it from anywhere on the page:
- Space play and pause.
- ← → five seconds back or forward; Shift makes it thirty.
- Home End the start or the end of the round.
- , . one speed step down or up.
- F full screen.
- Esc leaves review mode, the view options, or full screen on a phone.
None of these fire while you are typing in a field, and a control that has focus keeps its own keys. The scrub track is one of those: with it focused — click it, or tab to it — the arrows step ten seconds, sixty with Shift.
The round streams in as you watch: the viewer fetches frames in chunks and starts before the whole recording has downloaded. A jump far ahead may show a small loading mark on the bar for a moment while the frames under the new playhead arrive.
Moving around the map
- Drag to pan. Scroll to zoom, around the point under the cursor.
- Click a soldier to follow them. See Following.
- Shift-click a soldier to spotlight them — as many as you like, on either side. See The spotlight.
- Hover anything for its tooltip. See What the tooltips say.
- Reset view on the bar puts the whole map back in the frame and stops any follow. A spotlight survives it: that is a statement about who you are watching, not about where the camera is.
- Full screen gives the viewer the whole display. On a phone the viewer pins itself over the page instead, which comes to the same thing.
On a touch screen the same things are one finger and two: one finger pans, two fingers pinch to zoom around the point between them, and a tap does what a click and a hover do together — a tap on a soldier follows them, a tap on anything else raises its tooltip, and a tap on open ground clears both.
Reading the map
Everything on the map is drawn by rule, so a mark means the same thing on every layer and at every zoom. The sizes scale with the Icon size control; the objective rings, the grid and the blast footprints do not, because they are distances on the ground.
The glyphs inside those shapes are the game's own. Kit icons, vehicle classes, deployables and map markers all draw the sprite the in-game map uses, on the plate the legend shows — see The game's icons below for every one of them.
What the tooltips say
Hover a mark, or tap it on a touch screen. The tooltip depends on what it is:
| Mark | Tooltip |
|---|---|
| Soldier | Name in their team's colour; the kit they are on and the weapon in their hands, when the recording carries them; squad, health or DOWNED, and SL, CMD or BOT where those apply; a health bar. |
| Vehicle | The class, health against the hull it is out of, how many are aboard and which squad they are. |
| Wreck | The class and the moment it was destroyed. |
| Deployable | What it is, whose it is, who built it, and for a spawn point whether it can still be spawned on. |
| Objective | Its name, who holds it, and whether it is contested right now. |
| Map marker | What kind of marker it is, who placed it, and when. |
| Projectile | The round, who fired it, and its blast radius where the round's damage is known. The footprint is drawn on the ground under it while you hover. |
A BOT tag matters more than it looks: a bot is named and squadded like anyone else, so without the word a seeded round reads as a round of players. Its movement and its kills are the game playing itself.
The game's icons
Every sprite the map can draw, grouped the way the map uses them. These are served from the same place the viewer loads them for a match, so what is here is what is on the map.
Kit icons
What a soldier's mark shows with Roles on. Many kits share an icon: every squad leader kit in the game draws the same one.
 Automatic Rifleman
  Crewman
  Combat Engineer
  Grenadier also Heavy Grenadier
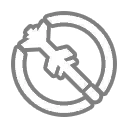 Heavy Anti-tank
 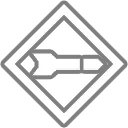 Rifleman Anti-tank also Light Anti-tank
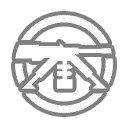 Machine Gunner
  Marksman
  Medic also Corpsman
 Pilot
Pilot  Raider also Pathfinder, Jandarma
 Recruit
  Rifleman also Fighter
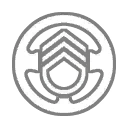 Lead Crewman
  Lead Pilot
  Squad Leader also Section Leader, Cell Leader, Senior Rifleman
 Scout
Scout  Unarmed
  Sniper
  Sapper
  Automatic Rifleman (optic)
  Rifleman (scoped)
Vehicle icons
The glyph on a vehicle's plate says what class it is, not which vehicle; the tooltip has the name. The note under each lists a few of the vehicles that draw it.
 Tank FV4034, Leopard 2A6M CAN, M1A1
 Tracked APC AAVP-7A1, BTR-MDM, FV432 L11A1 RWS
 Tracked APC, logistics AAVC-7A1 Logistics, BTR-DG Logistics, M113A2 Logistics
 Tracked IFV ACV-15 25mm, BMD-1M, BMD-4M
 Tracked light vehicle ACV-15 M2, ACV-15 MG3, BTR-D AGS-17
 Wheeled IFV ASLAV, BTR-4, BTR-82A
 Armed light vehicle CPV M134 Minigun, CSK131 QJY88, CSK131 QJZ89
 Anti-tank light vehicle BRDM-2 Spandrel, CSK131 HJ8, M-ATV TOW
 Logistics light vehicle LUV-A1 Logistics, LUVW Logistics, Logistics Modern Pickup
 Transport light vehicle CPV Transport, LUV-A1 Transport, LUVW Transport
 Logistics truck BMC-185 Logistics, CTM131 Logistics, HX60 Logistics
 Transport truck BMC-185 Transport, HX60 Transport, KamAZ 5350 Transport
 Rocket artillery truck BM-21 Grad, KrAZ-6322 BM-21 Grad, Ural-375D BM-21 Grad
 Anti-air vehicle BMP-1 ZU-23-2, BTR-ZD, MT-LB ZU-23-2
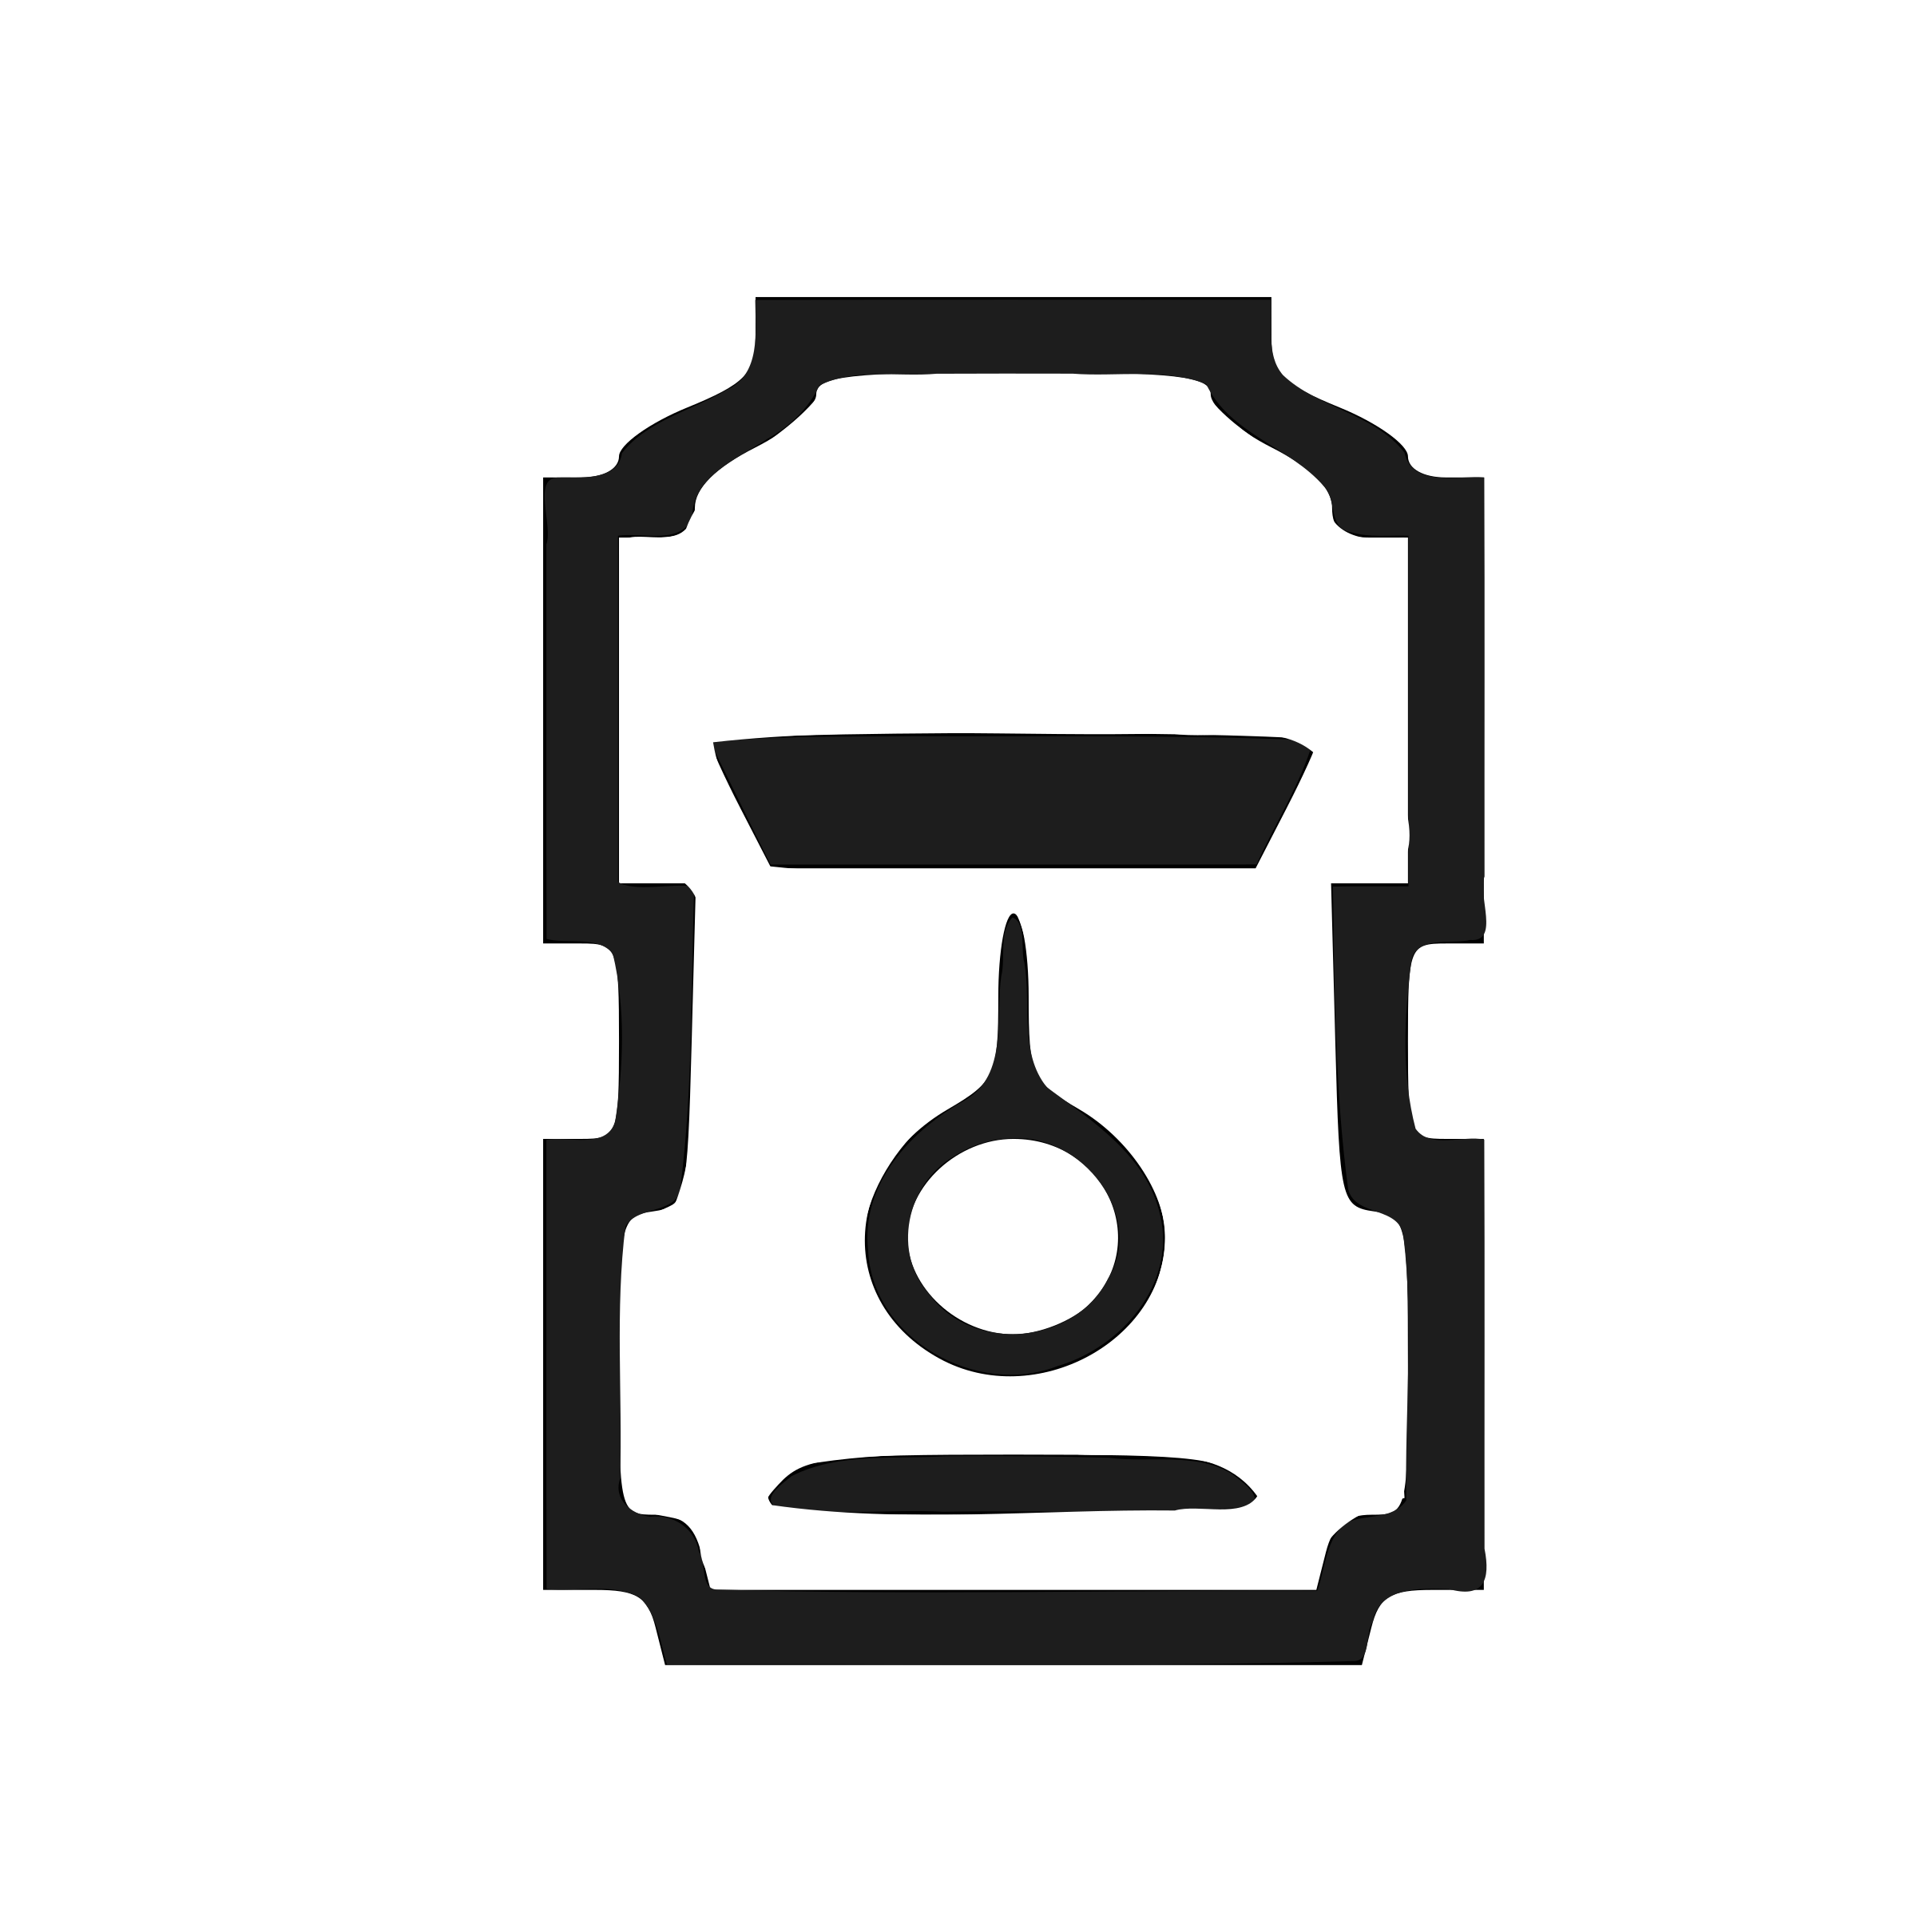 Turreted light vehicle BRDM-2, BRDM-2 UB-32, BRDM-2L1
 Artillery light vehicle BRDM-2 S8, Modern Technical UB-32, Technical Mortar
 Tracked APC, no turret BTR-D
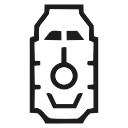 Wheeled APC BTR-80, LAV III C6 RWS, LAV III M2 RWS
 Transport helicopter CH-146, CH-178, MRH-90
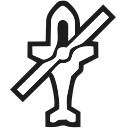 Attack helicopter CH-146 CAS
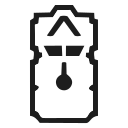 Armed transport truck CTM131 QJY88, CTM131 QJZ89, CTM131 Transport QJY88
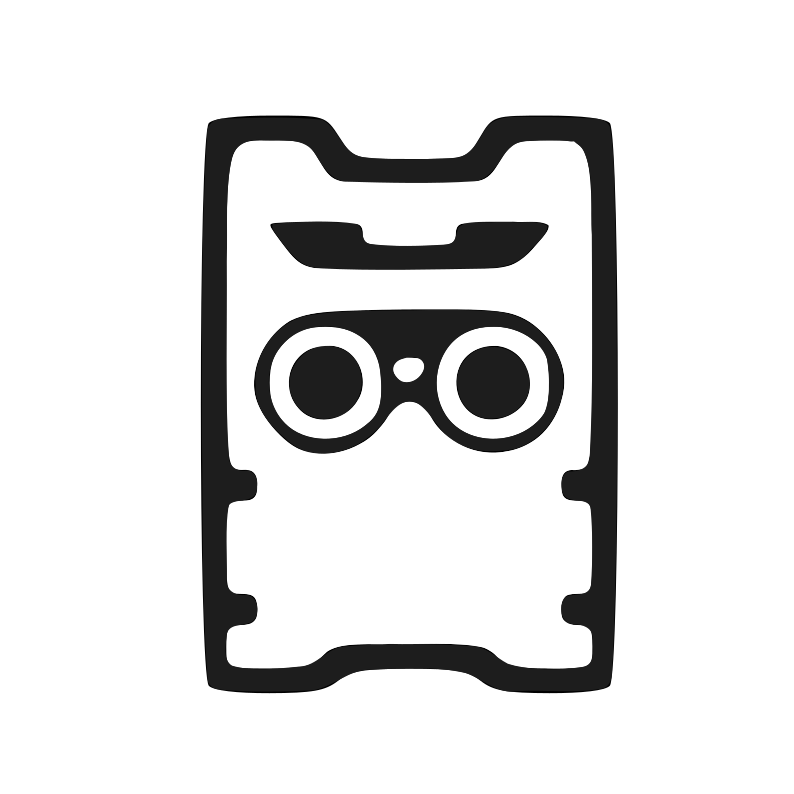 Tracked recon FV107
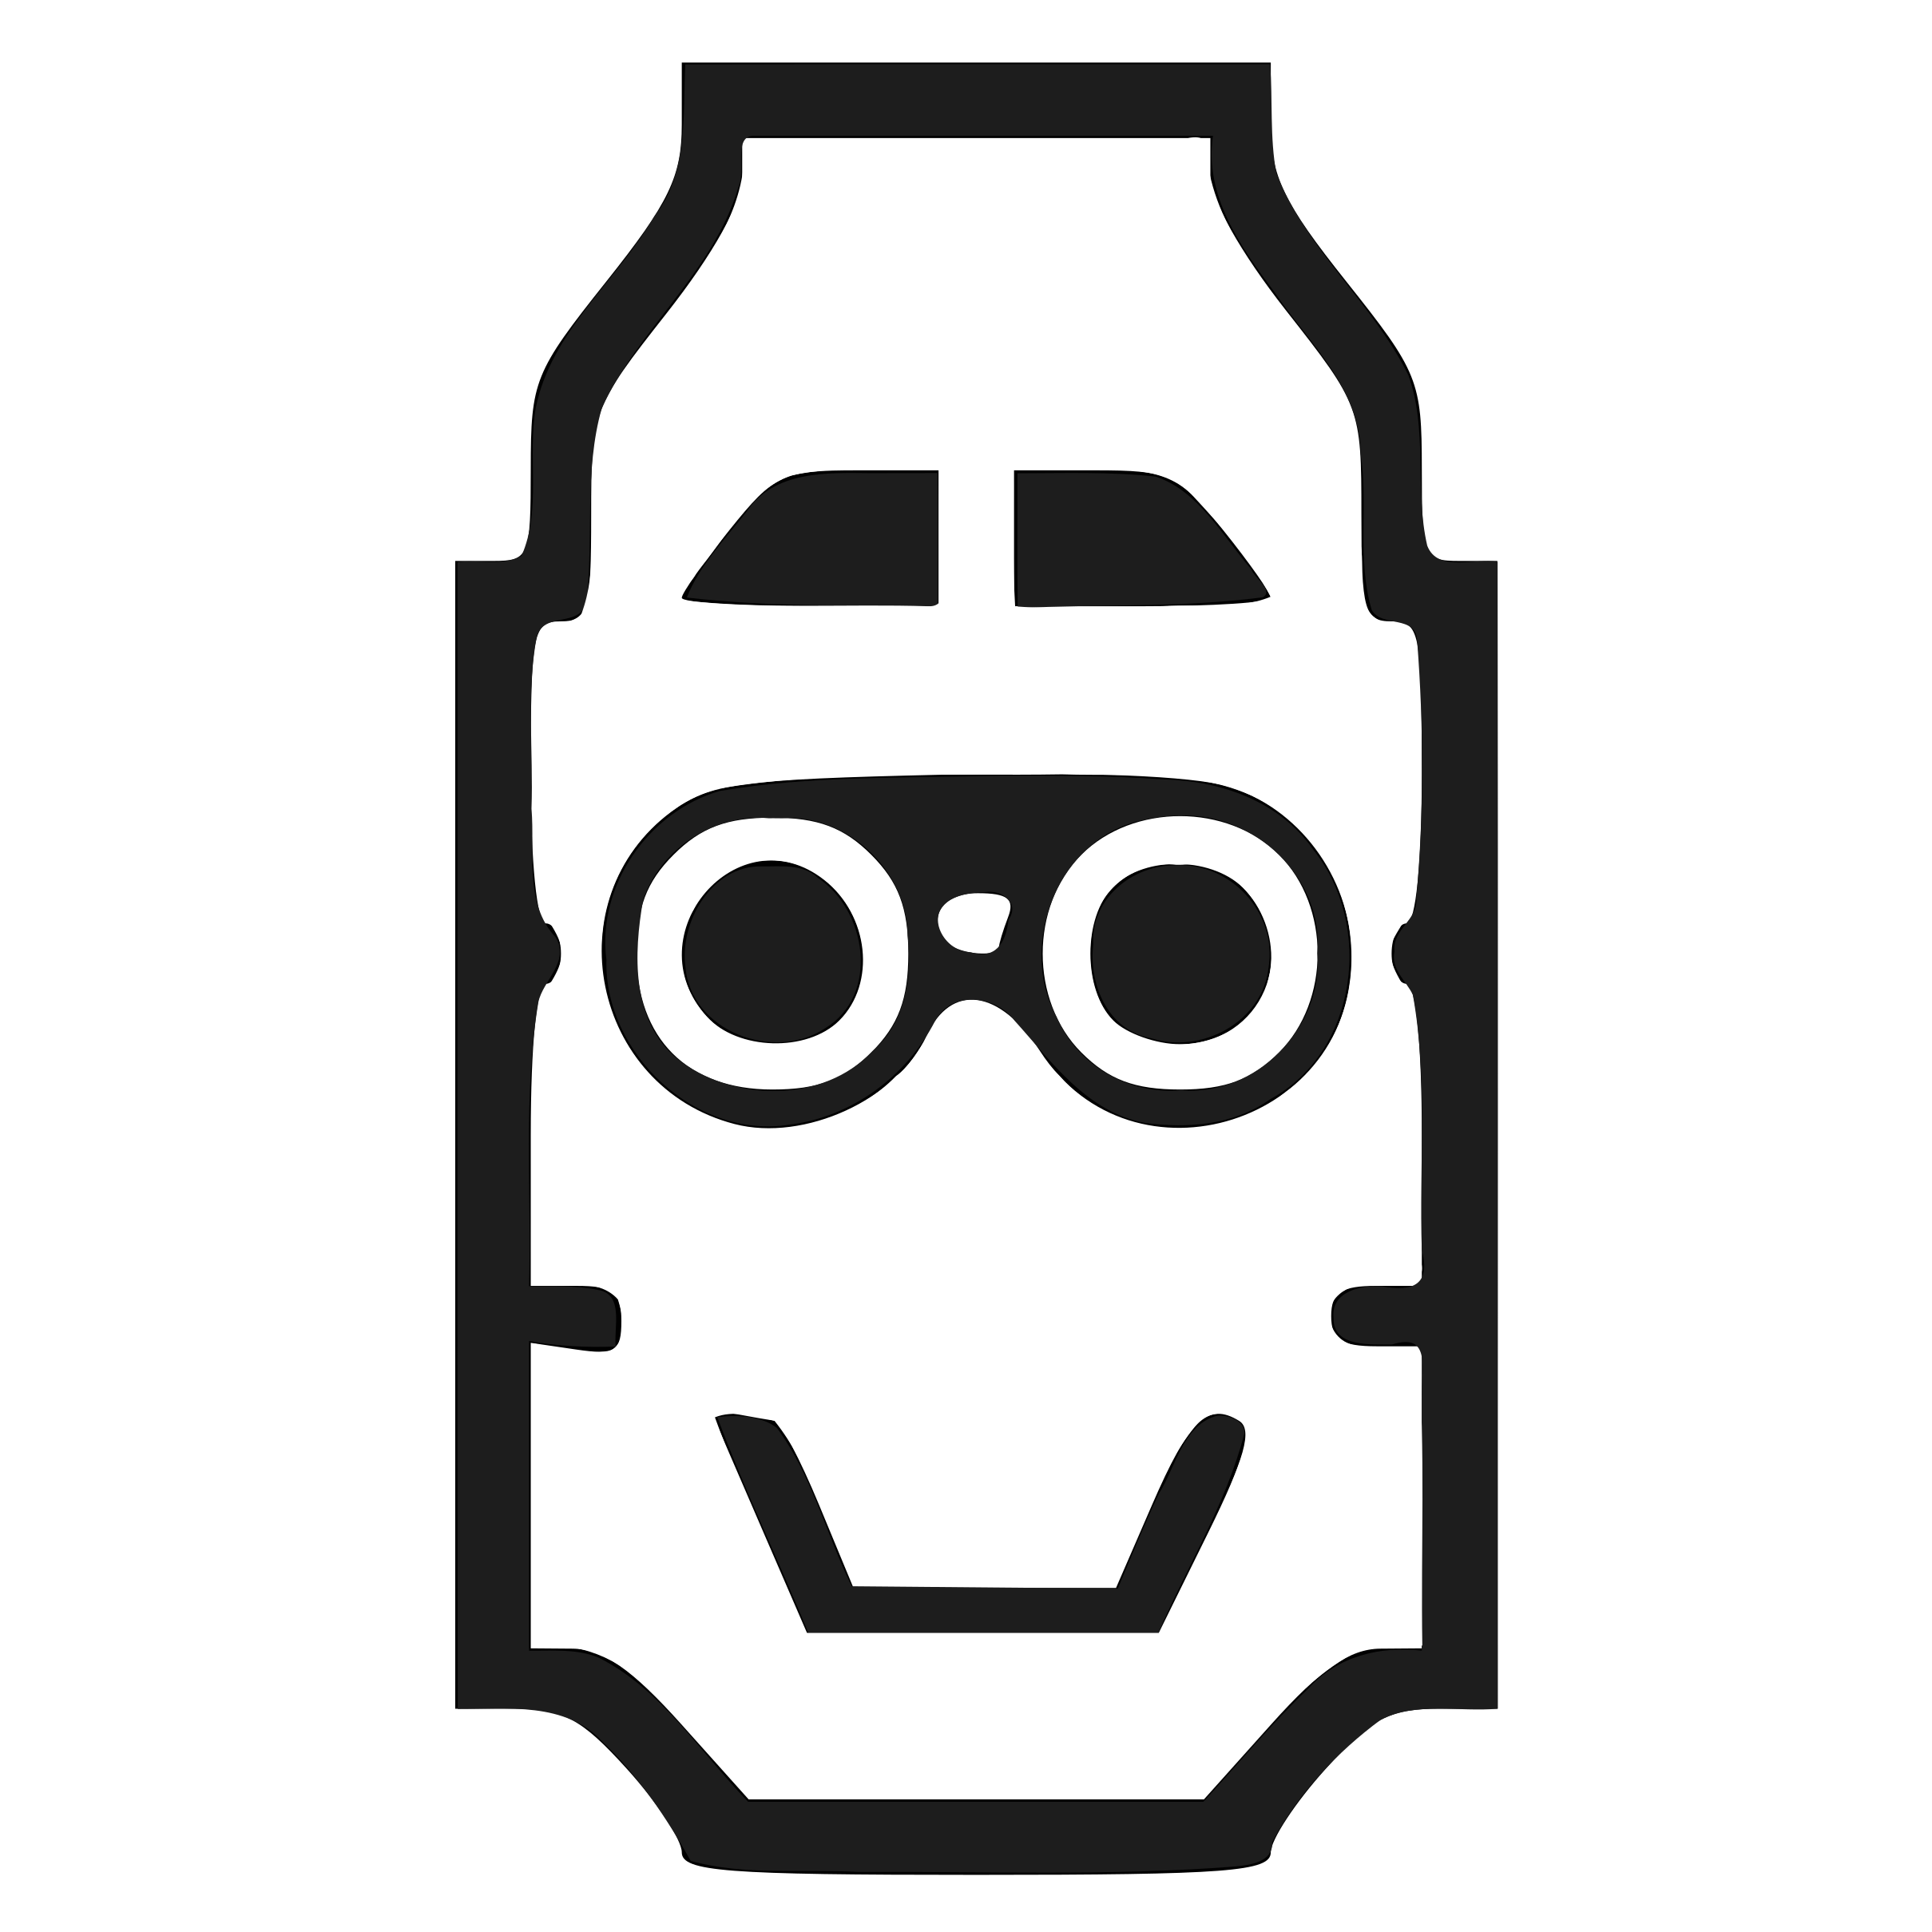 Wheeled recon Coyote
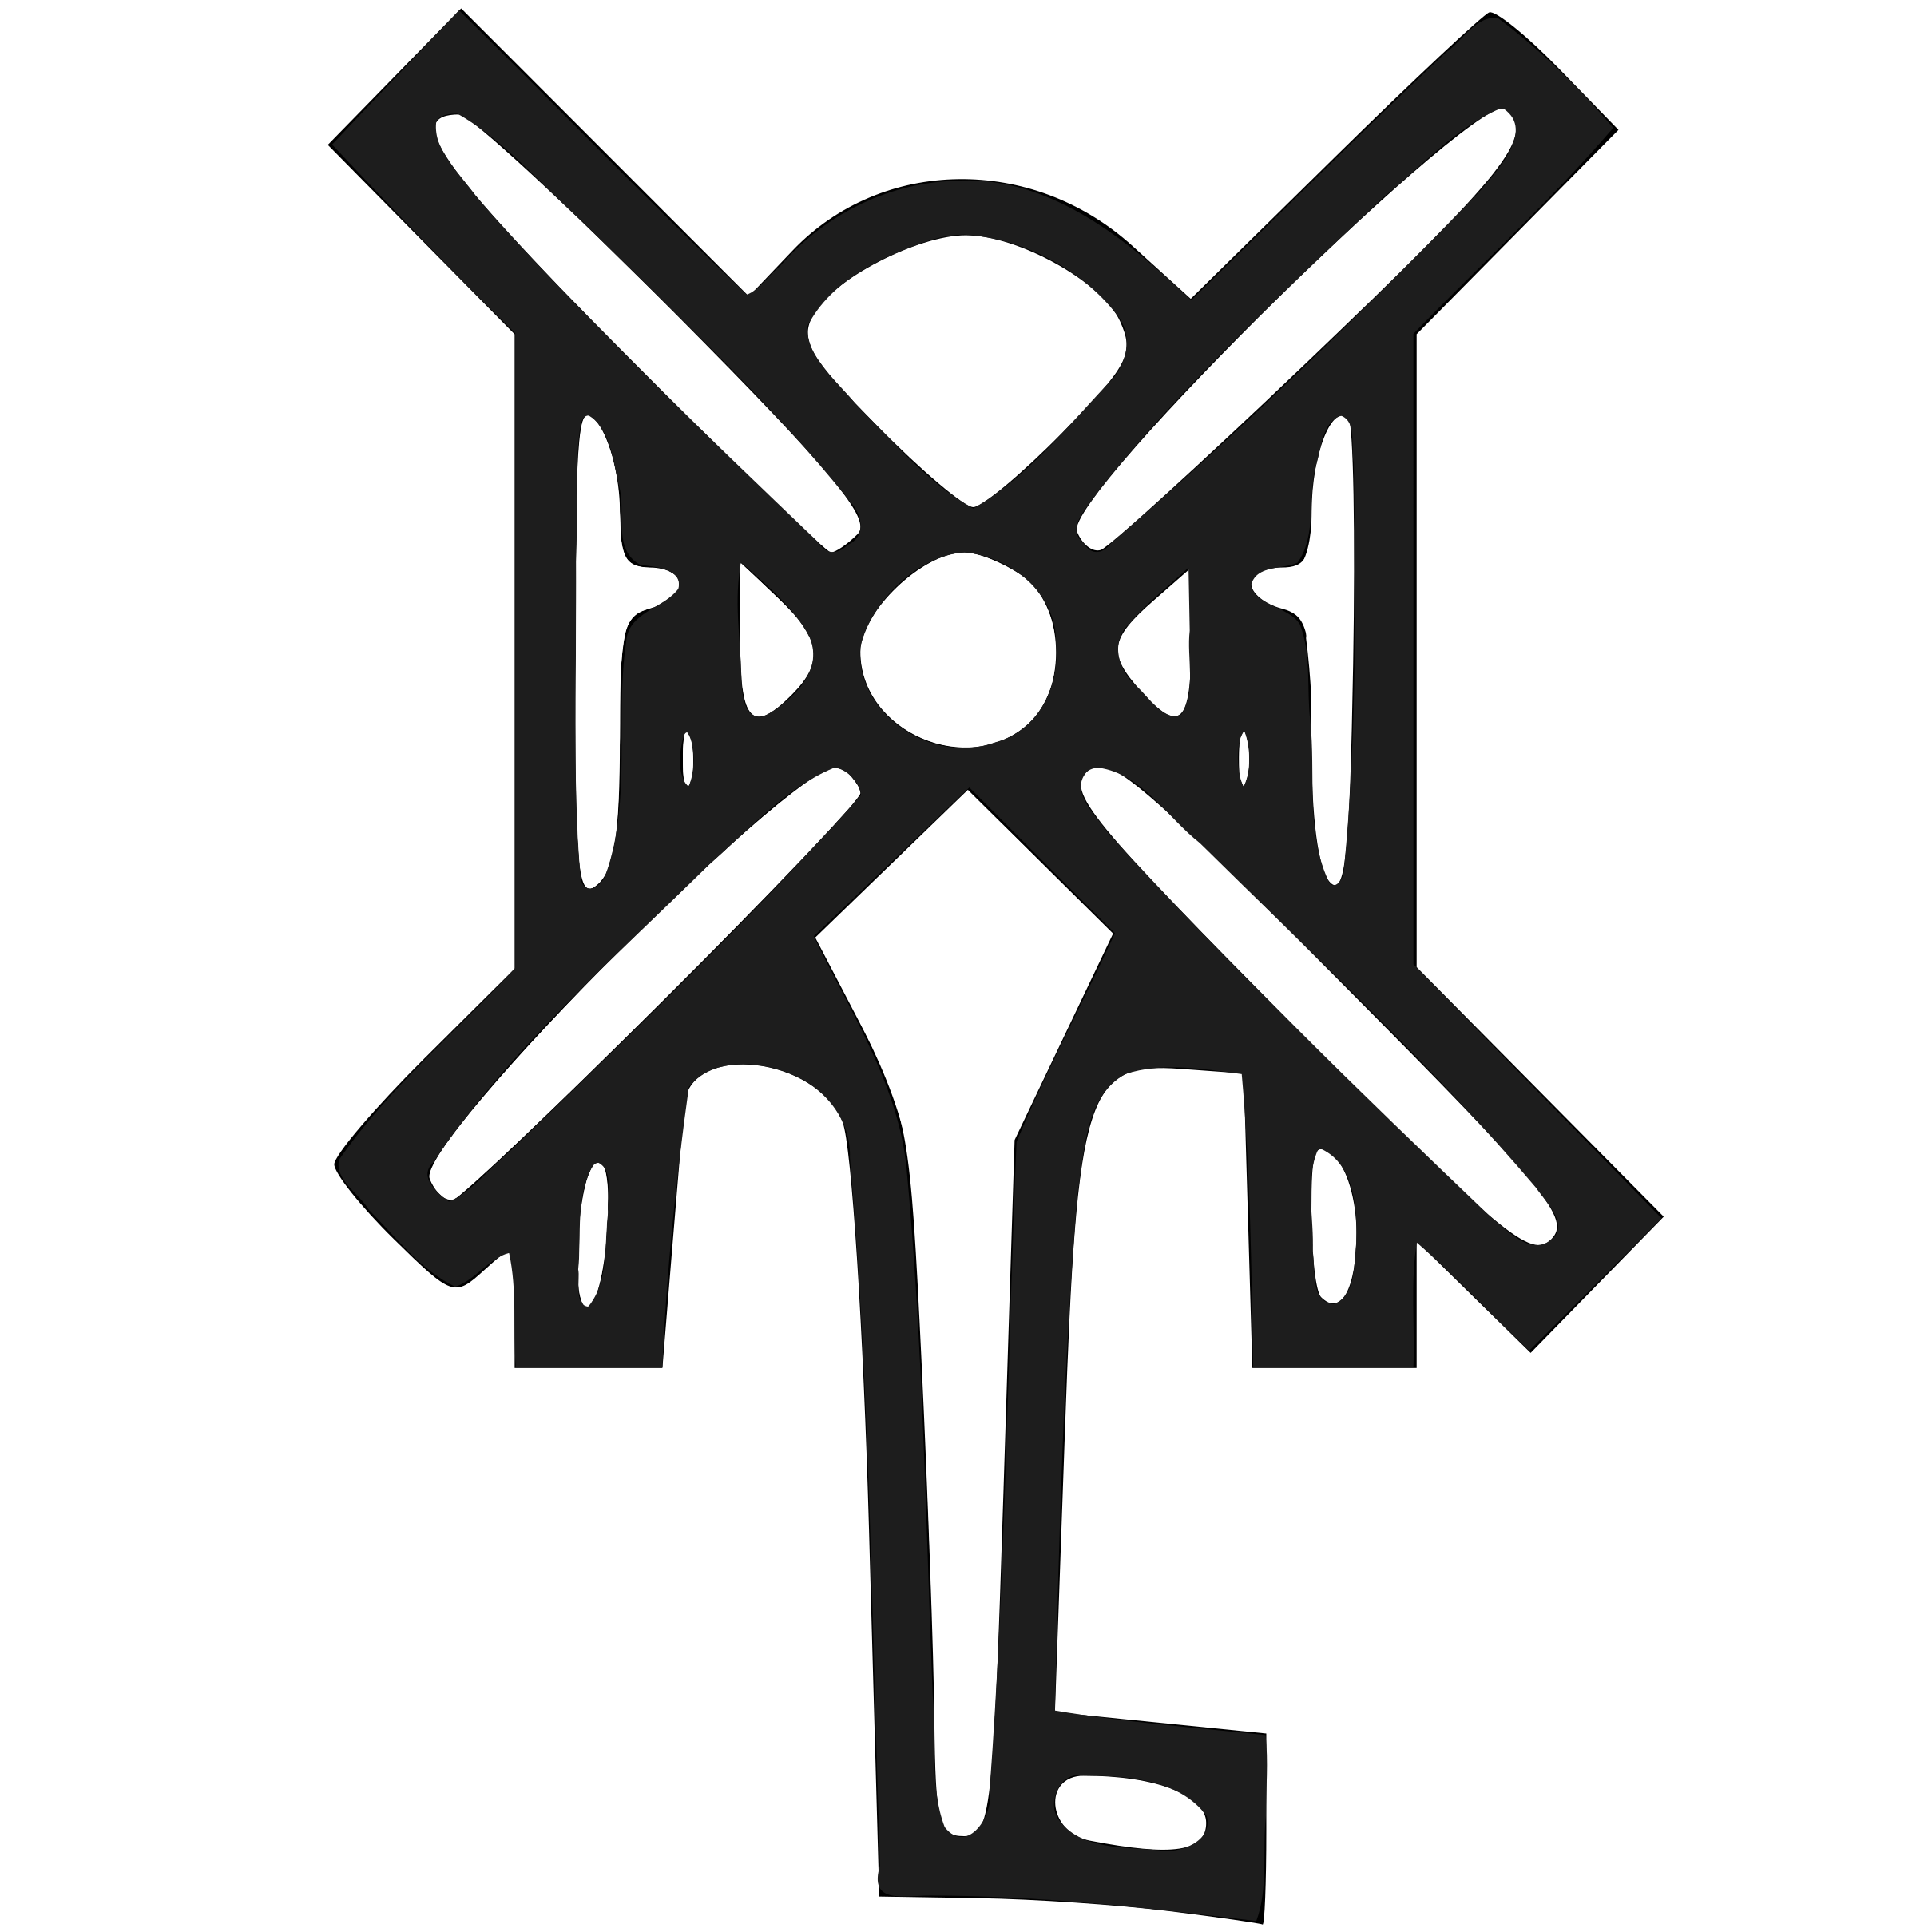 Scout helicopter Loach Scout
 Light CAS helicopter Loach CAS Small
 Tracked mortar carrier M1064A3 M121, M113A2T M121
 Mobile gun system M1128 MGS, Sprut-SDM1, ZTD05
 Tracked APC, MSV M113A3 MSV
 Motorcycle and quad Minsk 400, Quad Bike
 Armed boat RHIB AGS-17, RHIB DShK, RHIB M134
 Logistics boat RHIB Logistics
 Transport boat RHIB Transport
 Anti-air light vehicle Modern Technical ZU-23-2, Technical ZU-23-2
 Anti-air truck Ural-375D ZU-23-2
 Open-turret APC ZSL10, ZSL10 QJZ89, ZSL10 QLZ87
Deployable icons
What a squad built. The HAB and the rally point sit on a diamond because they are spawn points; everything else is a circle.
 HAB HAB (Spawn Bunker)
 Mortars 2B14 Podnos Mortar, 81mm Mortar, L16 Mortar
 Grenade launcher AGS17 AGL Bunker, AGS17 AGL Tripod, C16 AGL Tripod
 Ammo crate Ammo Crate
 Anti-tank missile 9M133 Kornet Missile, BGM-71 TOW Missile, HJ-8 ATGM
 Heavy machine gun DShK HMG (Shielded), DShK HMG Tripod, M2A1 HMG Bunker
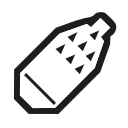 Rocket artillery UB-32 Rocket Artillery
 Hell cannon Hell Cannon
 Radio Radio
 Observation tower Observation Tower
 Observation tower (variant) Observation Tower
 Rally point Rally Point
 Tire fire Tire Fire
 Repair station Repair Station
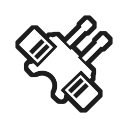 Anti-air gun ZU-23-2 AAA Emplacement
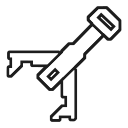 Field gun Zis3 76mm Field Gun
Command markers
The markers a squad leader, fire team leader or commander places. Each is drawn on the placing team's colour, with a second shade for a fire team.
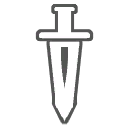 Attack squad leader or fire team leader
 Defend squad leader or fire team leader
 Move squad leader or fire team leader
 Observe squad leader or fire team leader
 Build squad leader or fire team leader
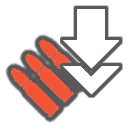 Ammo request
  Construction request
 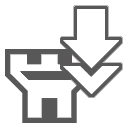 FOB request
  Fire mission request
  Pickup request
 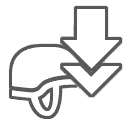 Reinforcement request
  Point of interest
  Commander point of interest
Spotted enemy markers
The contact markers, which borrow the vehicle and deployable icons and always take the alarm colour, on both sides' maps.
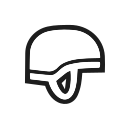 Infantry
  Mine
Mine - Anti-air
 Anti-tank emplacement
 - Anti-tank vehicle
- Motorcycle
 Boat
Boat  FOB
FOB - HAB
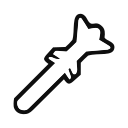 Heavy anti-tank
 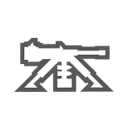 Machine gun emplacement
 - Helicopter
- Light vehicle
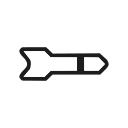 Light anti-tank
 - Logistics truck
 Machine gun
  Marksman
  Mortar
 - Rally point
 Repair station
 - Tank
- Tracked APC
- Tracked IFV
- Transport vehicle
- Transport truck
- Wheeled APC
- Wheeled IFV
Following
- Follow a player. Click their mark on the map, or their row in Squads or Scores. The camera keeps them centred at whatever zoom you have set, and their mark wears the accent ring, a glow that breathes while the clock runs, corner ticks for the camera, and a trail at full strength whether or not the trails layer is on. Click them again, click the pill over the map, or drag the map away to stop.
- Follow a squad. Click the follow button on a squad's header in the Squads panel. The camera tracks the squad, every member wears the ring and the trail, the rest of their team dims, and a vehicle the squad is crewing stays lit with them. Trails are not drawn on dimmed marks.
- Following one thing stops following the other, and Reset view stops both.
The spotlight
- Spotlight a player or a squad. Press the ◎ at the end of their row or their squad's header in the Squads panel, or hold Shift (or Ctrl, or ⌘) while clicking the row, a Scores row, or the soldier's mark on the map. Press again to take them out. The set is yours to build: a squad from each side, one player and the squad hunting him, a whole platoon.
- What lighting does. A lit mark keeps its ring, its glow, its name and a strong trail; every mark outside the set dims to a fifth, on both teams, and so do deployables, wrecks, markers and rounds that are not the set's own. A vehicle with a lit soldier aboard stays lit. A squad in the set lights whoever is in that squad at the playhead, so a member who leaves goes dim from that moment.
- The camera. When you light something and nothing is being followed, the camera eases toward the centre of the lit marks and keeps tracking them. Drag the map to take it back; ⌖ frame on the pill fits the camera to the whole set and starts tracking again. A follow always wins the camera — a spotlight of others under a follow only dims.
- The pill over the map names the set — squads first, then players — and clears it with × clear. Following and spotlighting are independent: you can follow one player through a spotlight of six.
Map layers and icon size
Ground covered is the one layer with a subject: it paints where every followed or spotlit player and squad has been over the whole round, in their side's colour, densest where they stood longest. Turn it on with nothing lit and it paints nothing. A match prepared with a tracks document paints the whole round from one small fetch; an older one has to fetch every chunk once in the background, nearest the playhead first, and then the pill over the map counts them in as they arrive while the layer shows what it has. A squad's heat is its members' while they were members. The match page's Heatmap tab draws the same layer for any players you pick there, beside the kill heatmap, without the replay running.
The View options button on the bar opens the layer toggles. A layer whose data the recording does not carry is not offered at all — an older recording may show fewer boxes than this table, and that is not a fault.
| Layer | Default | What it draws |
|---|---|---|
| Trails | Off | Where each unit has just been, as a fading line behind it. Makes a push readable and a crowded flag busy. Cleared when you scrub. |
| Player names | Off | Each soldier's name above their mark. |
| Health bars | On | A bar above each soldier who has lost health, filled to what they have left. No bar means full health; a body shows none, because its grey mark already says it is down. Anyone you follow or spotlight always has one. |
| Markers | On | Squad and fire-team leaders' map markers: attack, defend, move, observe, enemy contact and the rest. Where squads were told to go, next to where they went. |
| Vehicles | On | Every live vehicle and its trail. Off is the infantry's map. |
| Wrecks | Off | Destroyed vehicles, left where they died until the end of the round. Off by default because they only accumulate. |
| Deployables | On | HABs, radios, rallies, emplacements and sandbags. |
| Roles | On | Each soldier's kit icon on their mark, instead of the plain triangle. |
| Squad numbers | On | The squad's number beside the marks it owns: leaders, rallies, markers and crewed vehicles. |
| Projectiles | On | Rounds in the air — grenades, rockets, mortars, artillery — with their path and a ring where they landed. Small-arms fire is never recorded, so this is tens of arcs, not thousands. Nor are armour-piercing cannon rounds: like bullets, the game server never creates them, so a tank or IFV firing AP leaves no arc, while its HE and HEAT rounds do. |
Icon size, under the toggles, is 1×, 1.5× or 2×. It scales the glyphs — soldiers, vehicles, deployables, markers — and nothing that is a distance on the ground.
The kill feed
The nine most recent events at or before the playhead, newest first. Five kinds of row appear: a kill, a down (marked ↓; the kill lands when they give up or bleed out), a revive, an objective capture, and a vehicle destroyed. A kill row also carries the weapon, HS for a headshot, and the shooter's distance from the impact.
- Click a row to jump to it. The playhead lands three seconds early, so you see the engagement rather than a body already down.
- Filter players narrows the feed to rows naming the players you type. Comma-separate several. Matching is case-insensitive and by substring, so
henkifinds a name with a clan tag around it. Captures and vehicle kills name no player, so they drop out while a filter is set.
Squads and Scores
Squads is the roster as it stands at the playhead, not as it was at the start: a player who switches squad or team moves with the clock. Each row has a status dot — green alive, amber downed, red dead — and a CMD or BOT tag where it applies. Click a row to follow that player; click a squad's follow button to follow the squad. The ◎ at the end of a row or a header spotlights that player or squad — see The spotlight — and a lit row carries an accent rule at its edge.
Scores is the server's own scoreboard as it stood at the playhead: kills, vehicle kills, deaths and team kills, straight from the counters the game was keeping rather than re-counted from the feed. It fills up as the round goes on, because a player is listed only once the recording has seen them score anything. The tab is only offered for a recording that carries the counters.
Review mode
Review mode turns the map into a whiteboard. While it is on, the pointer draws instead of panning, and a rail of tools appears beside the map. Strokes are pinned to the ground, so they stay on the spot you pointed at through every pan and zoom, and each is stamped with the playhead moment it was drawn at. Press Esc or the button again to leave.
- Pen draws freehand. Arrow and Ellipse drag from one point to another. Text places a label where you click; type it, then Enter or a click elsewhere sets it.
- Four inks: the accent, each team's colour, and a neutral.
- Undo takes back the last stroke; Clear removes them all.
- Every stroke puts a pin on the scrub track. Click a pin to go to its moment.
- Sketches are not saved with the match. They last until you leave the page, and in a shared link, which is the one place they persist.
Sharing a moment
Share this moment copies a link to this exact second of this match. Whoever opens it lands on the same playhead, and if you had sketched, they see the sketch too. A link taken while the replay is playing carries that as well, so it starts moving when it opens.
The link is a normal match page link with a few extra parameters: the time in milliseconds, whether to autoplay, and the sketch. Anyone the match page is visible to can open it.
When something is missing
- A layer toggle is not there. The recording carries no such track. Older recordings have fewer.
- The map is a grid. There is no minimap image for this layer, so the viewer draws 300 m major and 100 m minor grid lines instead and says so over the map. Everything else works the same.
- No Scores tab. The recording did not carry the server's counters.
- "Session expired." The signed-in session that was reading the frames ended. Reload the page to keep watching.
- Frames will not load. A notice over the map offers a retry. If it keeps failing, the match's replay may still be preparing.